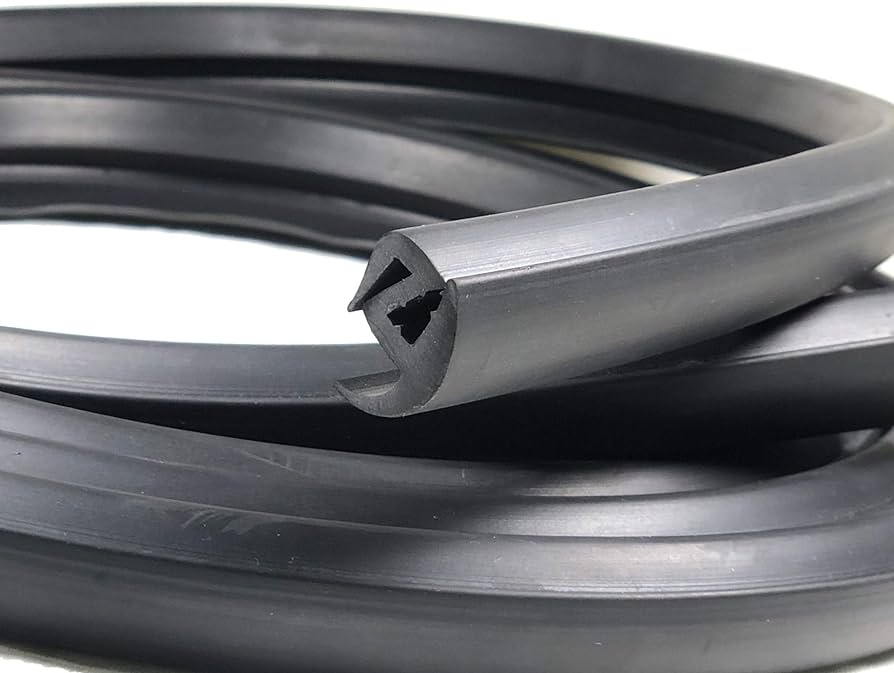
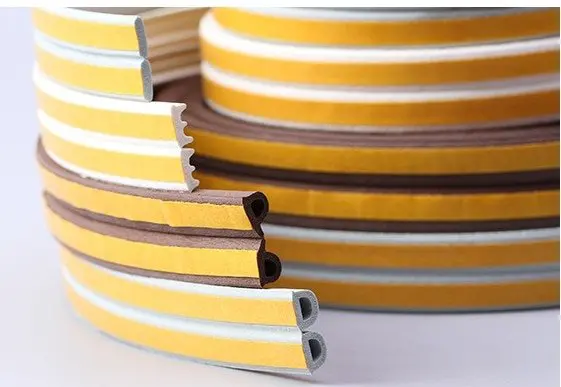
Are you tired of dealing with drafty windows that let cold air in and warm air out? Do you want to improve the energy efficiency of your home and reduce your energy bills? One simple solution is to install rubber seal strips around your windows. In this article, we will provide a step-by-step guide on how to install rubber seal strips for windows, as well as discuss the benefits of doing so.
Benefits of Rubber Seal Strips for Windows
Before we dive into the installation process, let’s take a look at the benefits of rubber seal strips for windows:
- Energy Efficiency: Rubber seal strips help to seal any gaps around windows, preventing cold air from entering and warm air from escaping. This can lead to significant energy savings and a reduction in your energy bills.
- Noise Reduction: Rubber seal strips can also help to reduce noise pollution by blocking out external sounds. This is especially useful for homes located near busy streets or noisy neighbors.
- Waterproofing: Rubber seal strips can help to prevent water from entering your home through the windows. This is especially important in areas with high humidity or frequent rain.
- Aesthetics: Rubber seal strips come in a variety of colors and styles, allowing you to choose the perfect finish to match your home’s decor.

Installation Process for Rubber Seal Strips
Now that we’ve discussed the benefits of rubber seal strips, let’s move on to the installation process:
Step 1: Measure Your Windows
To ensure a proper fit, you’ll need to measure the width and length of your windows. Use a measuring tape to get an accurate measurement, and be sure to round up to the nearest inch.
Step 2: Cut the Rubber Seal Strip
Once you have your measurements, use a sharp utility knife to cut the rubber seal strip to size. Be sure to cut the strip carefully, as it can be difficult to remove any mistakes.
Step 3: Apply Adhesive
Apply a bead of adhesive to the back of the rubber seal strip, and then press it into place around the window. Be sure to smooth out any wrinkles or bubbles as you go.
Step 4: Trim Excess
Once the adhesive has dried, use a utility knife to trim any excess rubber from the edges of the window.

Tips and Tricks for a Successful Installation
Here are a few tips and tricks to keep in mind when installing rubber seal strips:
- Use a high-quality adhesive to ensure a strong bond between the rubber seal strip and the window frame.
- Make sure the window is clean and dry before installing the rubber seal strip.
- Use a level to ensure the rubber seal strip is installed straight and level.
- Use a putty knife to smooth out any wrinkles or bubbles as you go.
Conclusion
Installing rubber seal strips around your windows is a simple and effective way to improve the energy efficiency, noise reduction, and aesthetic appeal of your home. With these easy steps and tips, you can ensure a successful installation and enjoy the benefits of rubber seal strips for years to come.

Leave a Reply